

Deer Looking Out of Woods Drawn Easy
There are few moments you can have in nature that are as wonderful as encountering a pretty deer in the woods.
These gentle animals are always a welcome sight, and they have come to represent the calmness and peace of nature.
Deer play an important role in many cultures worldwide as well, and they are a favorite animal of many people.
People love to draw and paint these lovely animals as well, and if you've wanted to learn how to draw a deer yourself, then read on!
This step-by-step guide on how to draw a deer in 8 steps will make drawing a deer easier than you could have ever thought!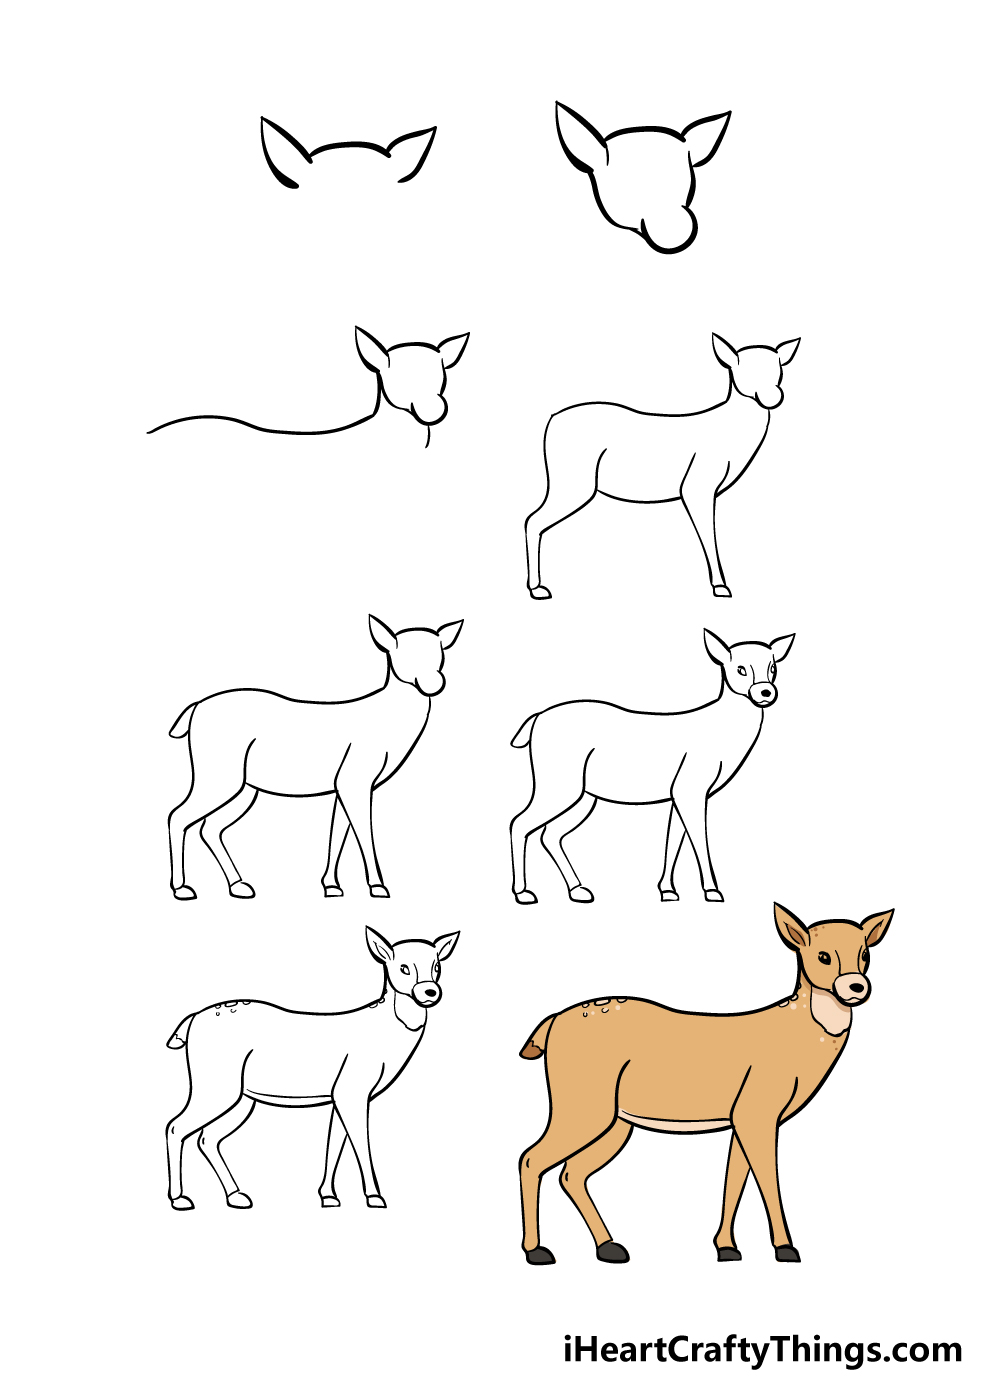
What's in this Blog Post
- How to Draw A Deer – Let's get Started!
- Step 1
- Step 2 – Next, draw in more of the head
- Step 3 – Now, start to draw in the body
- Step 4 – Add some more parts to the deer's body
- Step 5 – Now, draw in the other legs and tail
- Step 6 – Next, draw in a face for your deer
- Step 7 – Let's add some final details to your deer
- Step 8 – Now finish off your deer with some color
- 3 More tips to make your deer drawing easy!
- Your Deer Drawing is Complete!
How to Draw A Deer – Let's get Started!
Step 1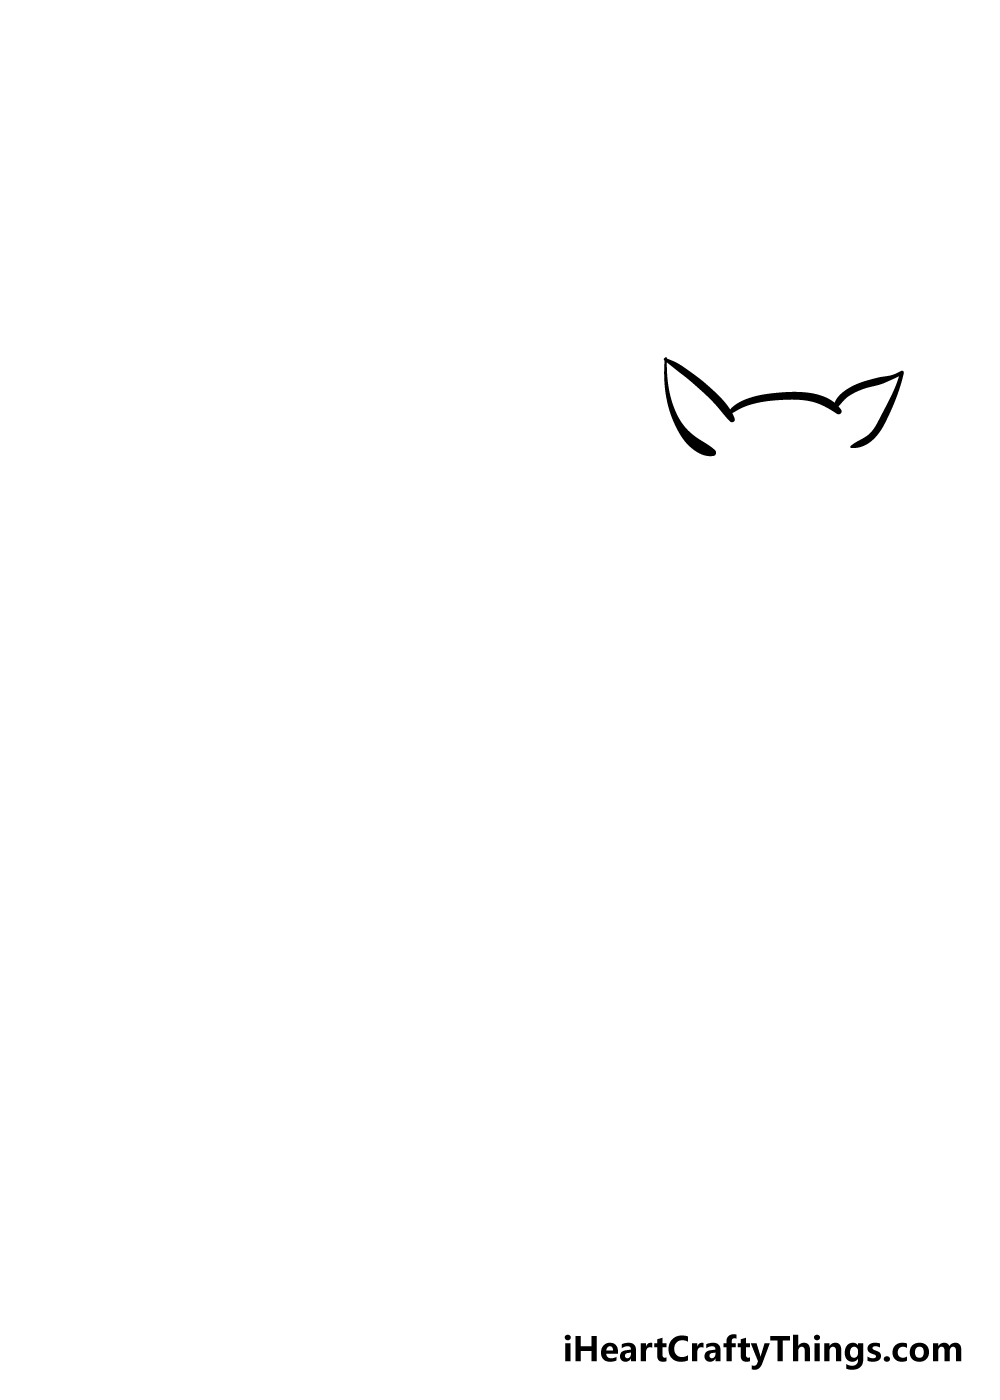
Sometimes in life, you have to start from the top instead of the bottom, and that's true of our first step in this guide on how to draw a deer!
Deer have cute, pointy ears, and we shall start with them for this step. To draw these in, you can simply use some curved lines with a point in them as they appear in the reference image.
Using a rounded line between them will form the top of the head.
Step 2 – Next, draw in more of the head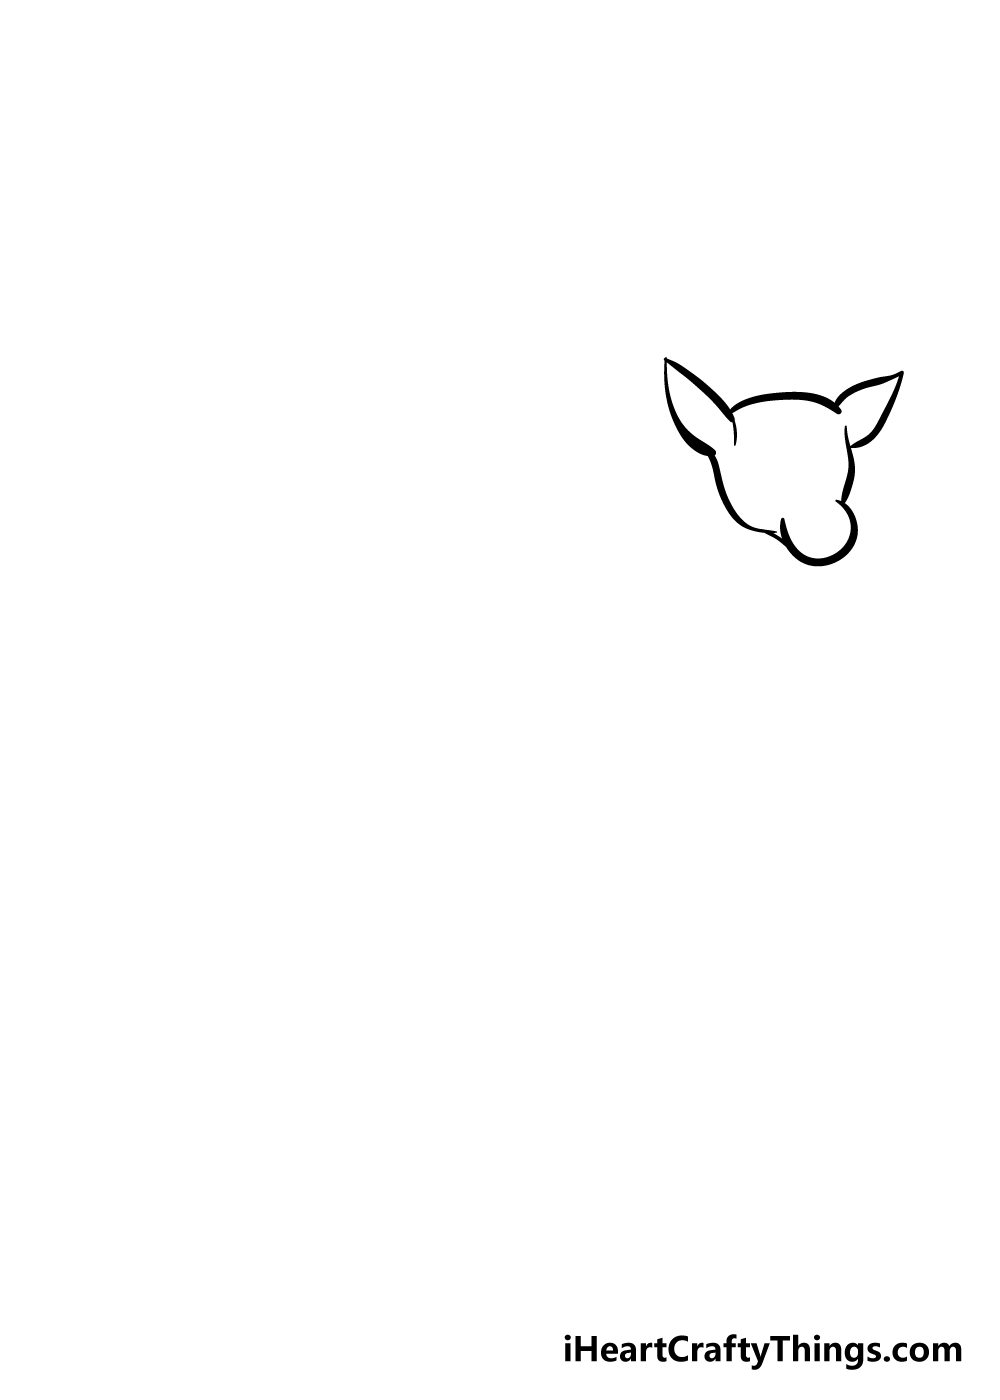
For this step of your deer drawing, we shall be adding in the rest of the head outline underneath the ears. Carefully draw in some more angular shapes to form the main outline of the head.
Then, at the front of the face, you can draw in a more rounded shape as you can see in the reference image. We will be adding the muzzle of the deer into that more rounded area shortly.
Step 3 – Now, start to draw in the body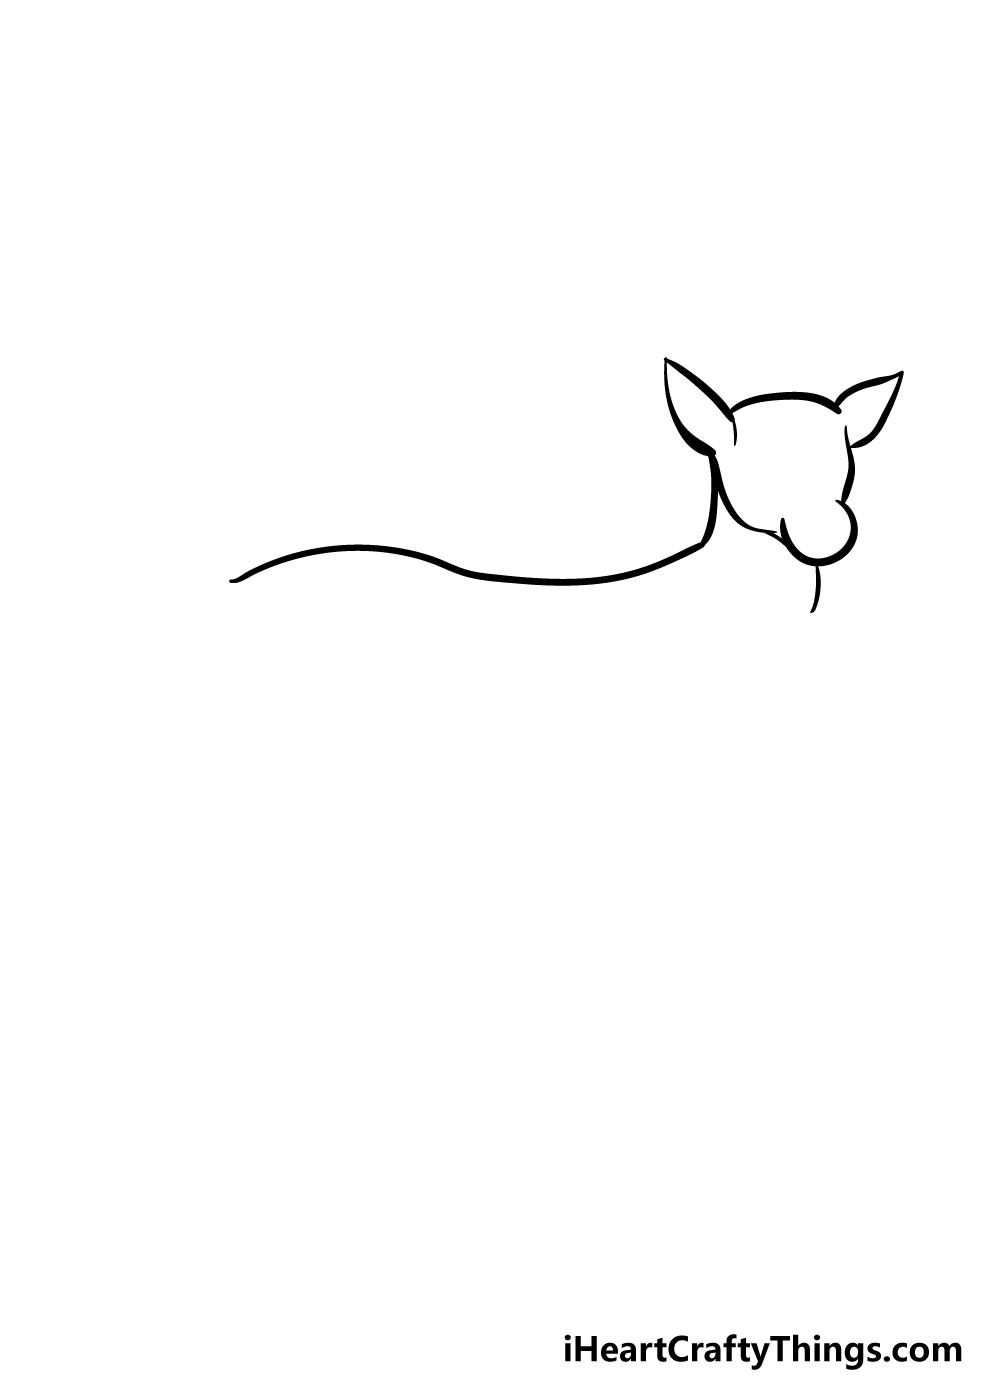
The head outline is complete, so for this third step, we shall start to draw in the back of the deer.
This will be a curved line extending down from under the ear and forming a curved line back from the head.
Once you have the back line looking like it does in the picture, add one more curved line under the front of the face to begin the chest of your deer drawing.
Step 4 – Add some more parts to the deer's body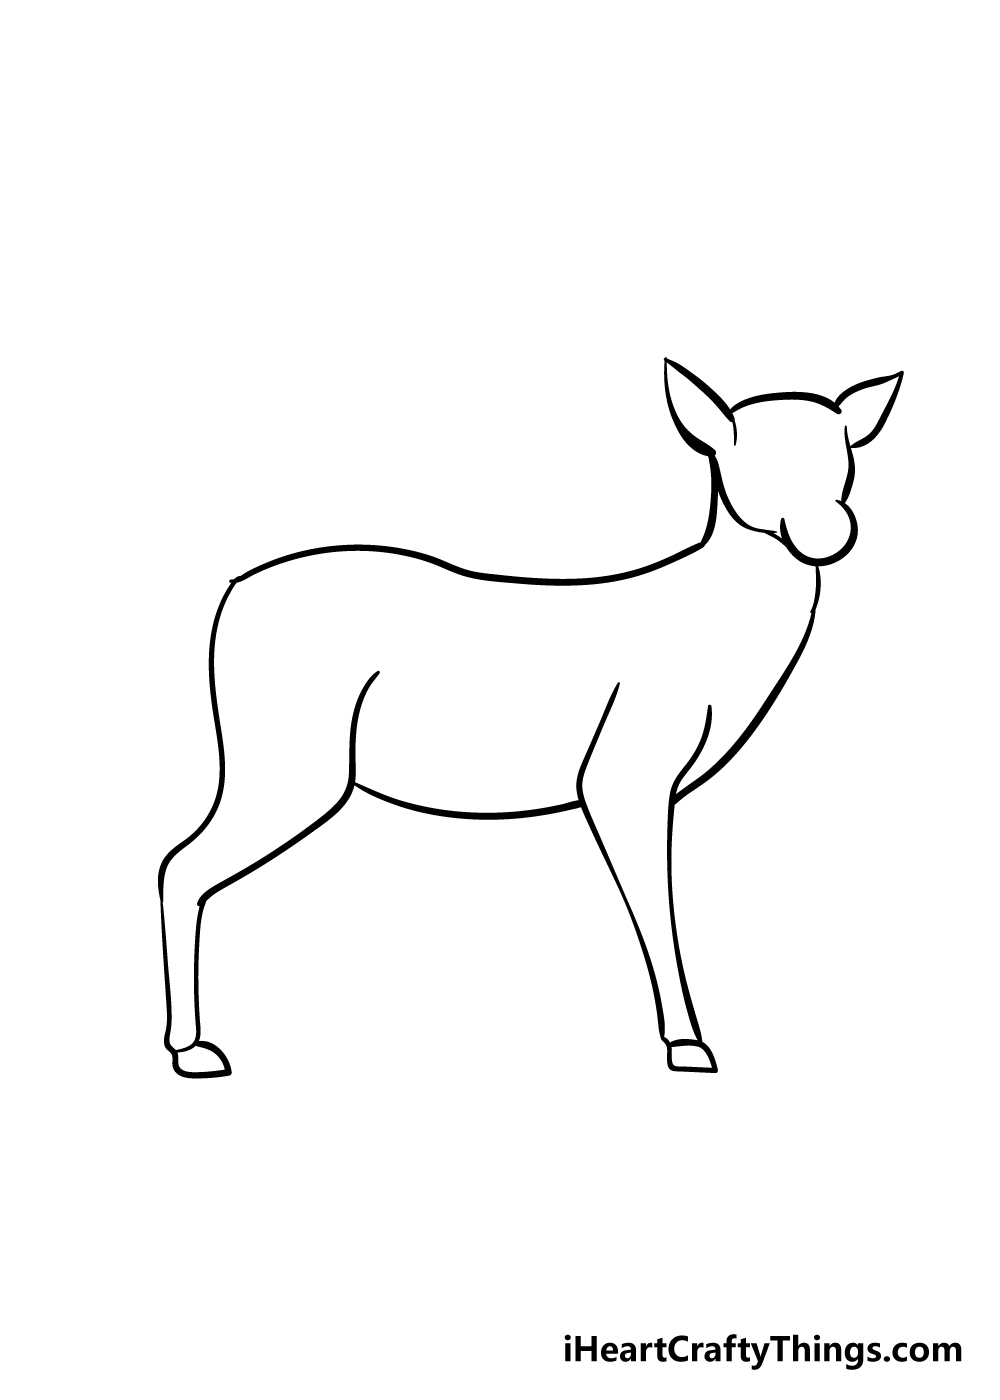
We're starting to build up your deer drawing nicely now! For this step, we shall be adding more to the body of the deer.
Using the lines you drew for the back and the chest of the deer, you can start to draw in the legs.
The legs are thicker at the top and then get more angular as you go down. The reference image will help you a lot with getting the shape right!
Once you have these legs drawn, simply add a curved line between them to make a belly for your deer, and then extend the chest line down as well.
Step 5 – Now, draw in the other legs and tail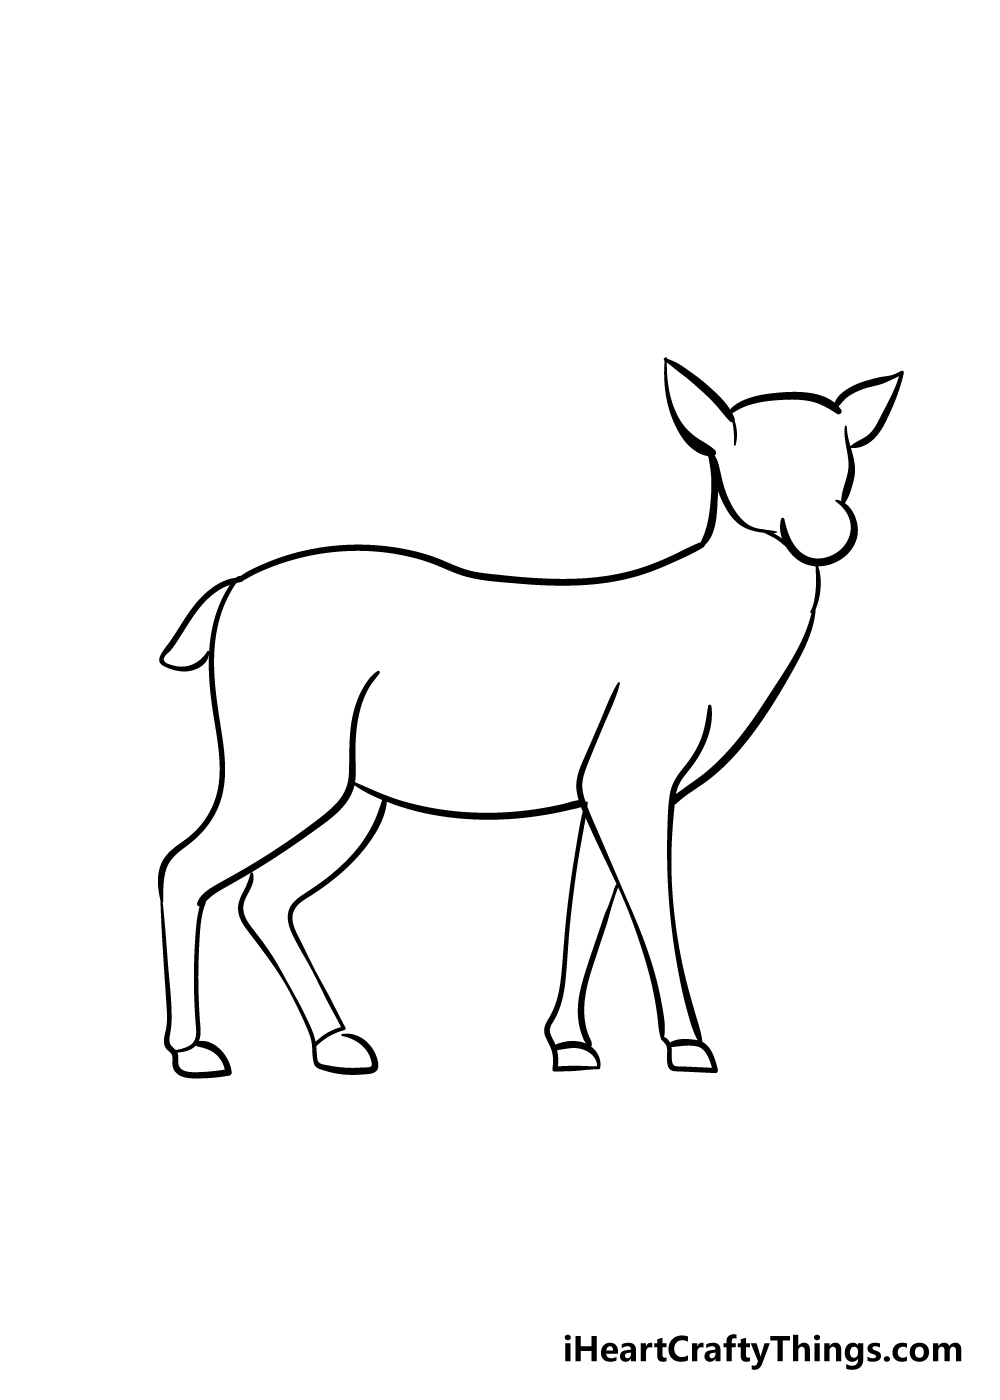
You've already drawn in two legs, so adding in the other ones should be easier in this step! Simply draw in two more legs that look like the ones you drew previously, just on the other side of the body.
Then, use a curved line to create a small tail for your deer drawing.
Step 6 – Next, draw in a face for your deer
The outline for your deer drawing is pretty much complete now! In this step of our guide on how to draw a deer, we will work on a face for the deer.
The eyes for the deer are quite small, and they sit on the sides of the face. You can then draw in the mouth portion with a curved line under a solid, black nose.
The nose and mouth will be in the rounded area of the face that you left earlier.
Lastly, draw in a line over the nose to make a snout for your deer, and then have two thin lines between the eyes to create some bone structure for the face.
Step 7 – Let's add some final details to your deer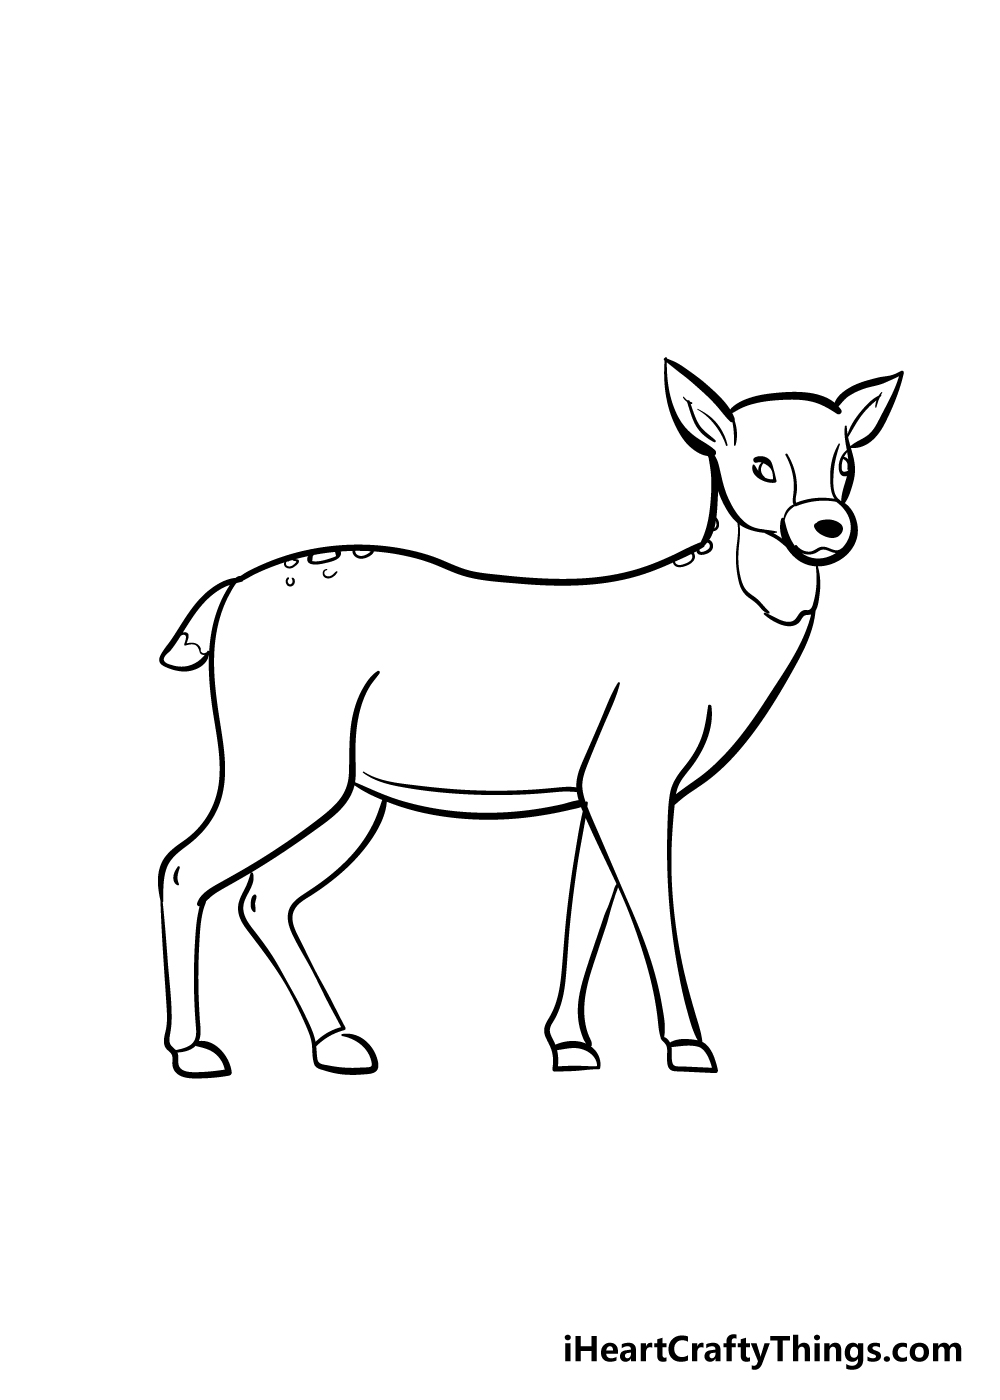
With the face drawn, your deer drawing is just a few details away from being ready for some color!
We have added s few details with some lines to the inner ears, belly, tail and legs to create some pattern variation.
There is also a line underneath the head for you to color later, and lastly you can add some spots to your deer as well.
These are the details we would add, but what else do you think you'll add to it?
Step 8 – Now finish off your deer with some color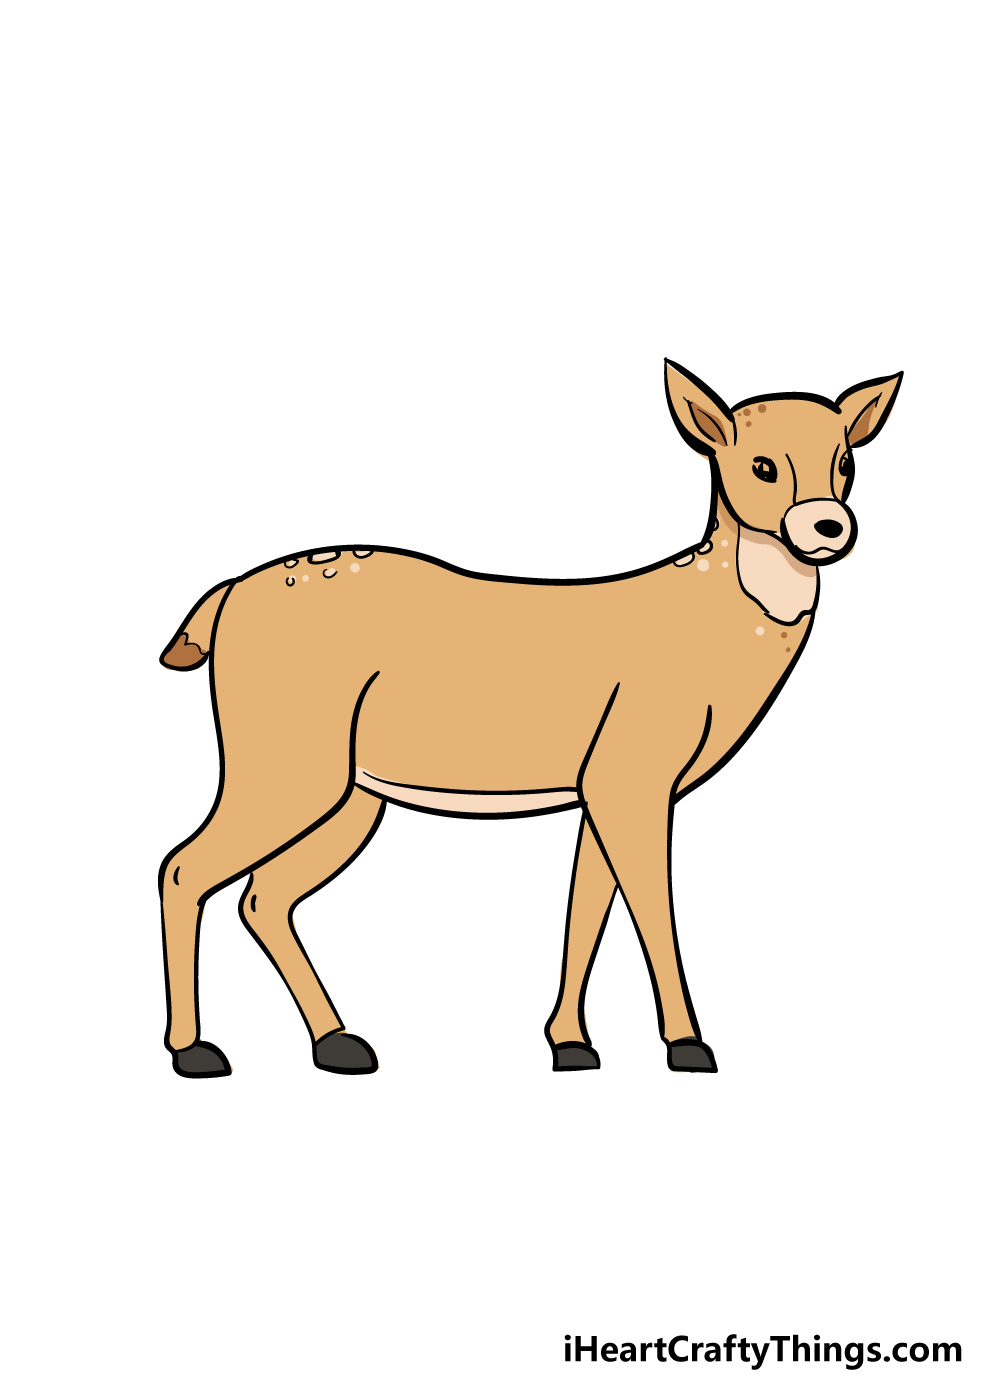
That brings us to the final step of our how to draw a deer guide!
Now that you've successfully drawn a cute deer, all that remains is to color it in. the reference image we provided here shows you just one out of many ways that you can color in this deer.
You could go with more muted, brown colors to keep it looking a bit more realistic, but you can also get creative with some fun and unique colors!
Once you choose the colors you would like, you can then have some fun with some great art mediums! If I were coloring in this image, I would use some watercolor paints for a more muted look.
I would also draw in and color a nice forest background for this deer, but what mediums do you think you will use? Will you draw in a background? We can't wait to see how you finish it off!
3 More tips to make your deer drawing easy!
Make this easy to draw deer even easier with these 3 fun and simple tips!
The deer drawing we created in this guide is somewhere between a realistic and cartoony style. It definitely leans more to the realistic side, however, so you could simplify the style a bit to make it easier.
By making it look more like a cartoon, you wouldn't have to be as concerned with getting the details and proportions looking right. If you were to do this, there are lots of famous cartoon deer characters you could use as inspiration.
That's one style you could use, but if there is another style that would make it easier for you then you should definitely go for that!
If you want to stick to the more realistic style, you can make your deer drawing easy to master by using some photos. You can find plenty of deer photos online, and they can help to reference as you draw.
If you're looking for deer photos, try to find ones that are positioned similarly to the one that we have in our guide. That way you can use our picture and these photos together to make it so much easier.
Or, you could use these photos to draw a deer in a different pose! If you wanted to create a male deer with antlers, then this could also help with that.
Artists will often use basic shapes to help prepare for their drawings, and you can do the same! Before you draw the final lines of your deer sketch, you can use a pencil to help make it easier.
With your pencil, draw some simple shapes that correspond with the proportions of the design. So, you could use a small circle for the head, an oval shape for the body and then longer shapes for the neck and legs.
Once you have these shapes, then you can start adding some details. Keep adding layers of detail until you're ready to draw the final lines with your pen.
Your Deer Drawing is Complete!
You set out to learn how to draw a deer, and you succeeded! This brings us to the end of this guide, and we hope you had a great time with it.
We designed this guide to be informative but also to be a lot of fun! Drawing is always made much easier when breaking it down into a few steps, and we know you can do it if you follow the steps and try your best.
Now you can decide on some awesome extra details! Whether it's with some amazing and vibrant colors, a unique background or some lovely paints, we can't wait to see how you put your own spin on it.
Please be sure to check out our site often, as there will be many more step-by-step drawing guides like this one coming out often for you to enjoy!
We would also love to see your deer drawing once it's drawn and colored, so we hope you will share it on our Facebook and Pinterest pages for us to admire and appreciate!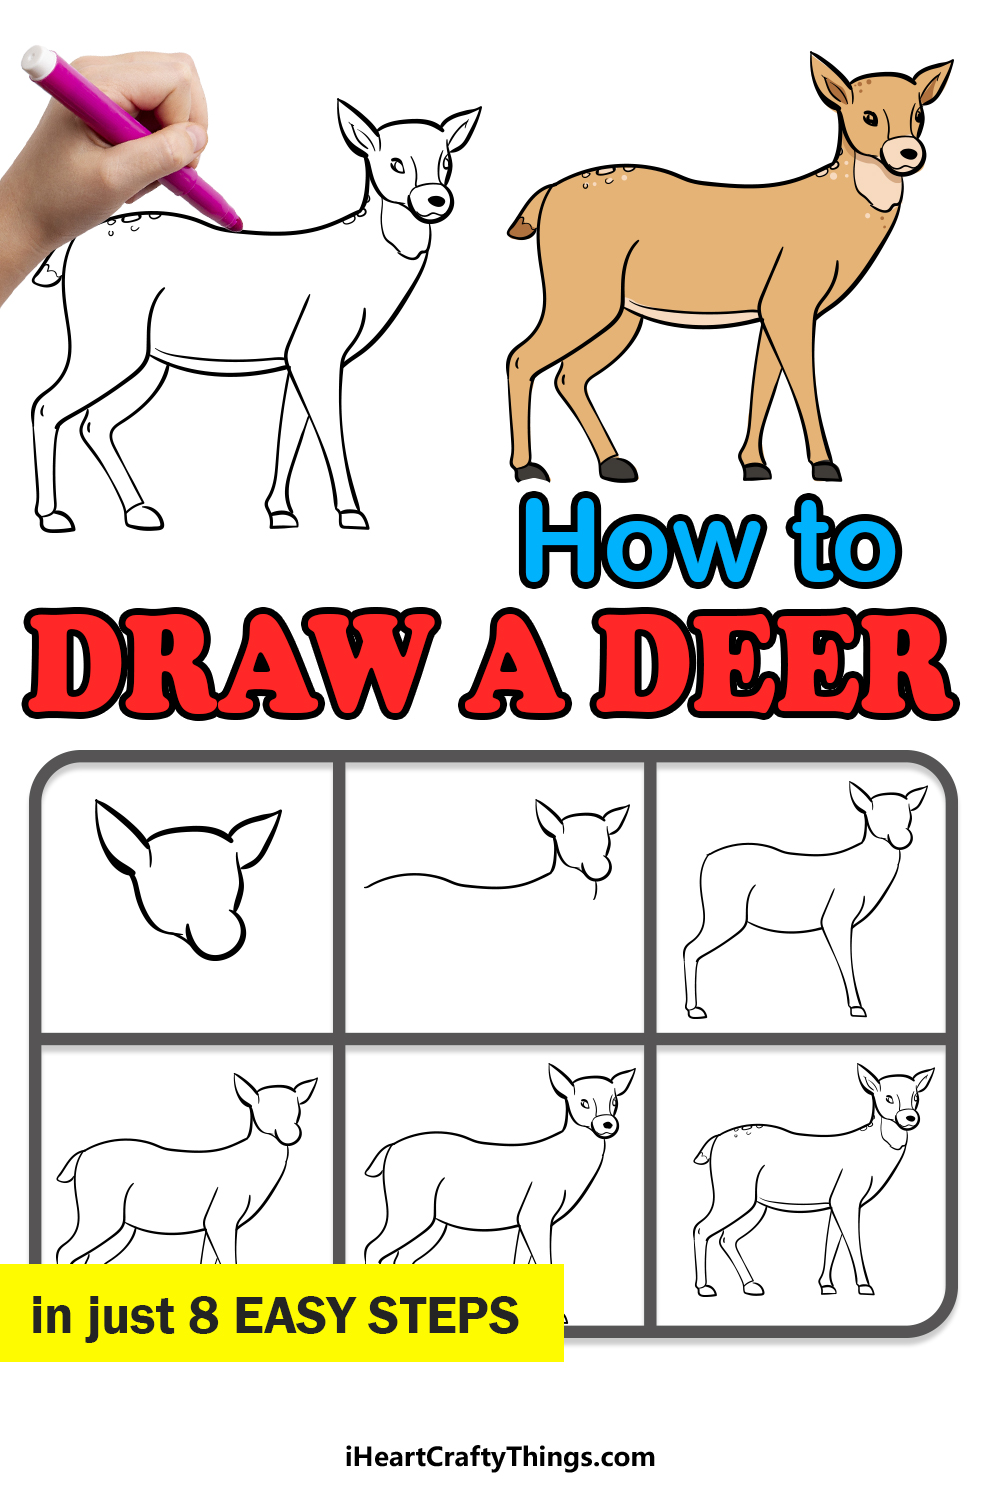
gerstaeckeragartherm.blogspot.com
Source: https://iheartcraftythings.com/deer-drawing.html
0 Response to "Deer Looking Out of Woods Drawn Easy"
Post a Comment